

There’s a moment before your first backpacking trip where everything feels… slightly chaotic. You’re staring at a pile of gear wondering: Do I really need all this? What if I forget something important? What if I hate it?
Totally normal.
I’ve been there. Everyone has. Even the people who now glide down the trail like they were born with trekking poles in hand once packed way too much and questioned every decision halfway up the first hill.
This guide will walk you through planning your first backpacking trip so you can go from overwhelmed to “Okay… I’ve got this.”
Step 1: Choose the Right Trail (Not the Dream Trail)
Here’s the truth: your first trip is not about epic views or bragging rights. It’s about having a good experience that makes you want to go again.
Start by choosing a trail that’s manageable. Ideally, you’re looking at something in the 3 to 6 mile range, round trip. A well-marked trail with a reliable water source and moderate or minimal elevation gain will make your life significantly easier.
But here’s the part most beginners don’t realize right away: choosing a trail also means choosing where you’re allowed to camp, and that comes with a little homework.
Different public lands have very different rules, and knowing them ahead of time can save you from a frustrating (or trip-ending) surprise. For example, if you’re heading into a National Park, there’s a good chance you’ll need to reserve a specific backcountry campsite in advance. These are often designated spots, sometimes with tent pads, and they can book up quickly depending on the park and season.
On the other hand, if you’re exploring a National Forest or certain state lands, you might have more flexibility with what’s called dispersed camping. That means you can choose your own campsite, but it usually comes with guidelines. You may need to camp a certain distance from trails, water sources, or landmarks, and there may be restrictions designed to protect the environment.
You’ll also want to check whether campfires are allowed where you’re going. In many areas, especially during dry seasons, fire bans are common. If that’s the case, you’ll need to plan on bringing a small camp stove for cooking instead of relying on a fire.
If you’re planning to bring your dog, don’t assume they’re allowed everywhere. Some parks and wilderness areas have strict rules about pets, while others are more relaxed. It’s always better to know ahead of time than to find out at the trailhead.
All of this might sound like a lot, but it really comes down to one simple habit: spend a little time researching the area before you go. Check official park or forest service websites, look at recent trail reports, and make sure you understand the rules for camping, fires, and pets.
It’s not about overplanning. It’s about removing uncertainty so you can actually relax once you’re out there.
I’ve skipped this step before, assuming I’d “figure it out,” and let’s just say… standing at a trailhead realizing you needed a permit you don’t have is not a great way to start a trip.
Step 2: Pick the Right Time (Weather Matters More Than You Think)
Weather can quickly turn a great trip into a miserable one if you don’t respect it.
You’ll want to aim for mild temperatures, ideally somewhere between 50 and 75 degrees. Spring and fall tend to be the sweet spot for beginners because you avoid both the oppressive heat of summer and the unpredictability of winter.
Try to plan around stable forecasts and avoid heading out when storms are likely or temperatures swing too far in either direction. Your first trip probably shouldn’t include freezing nights or blazing mid-day heat.
If you tend to run cold, pack with that in mind. Getting chilled overnight can take a fun trip and flip it into something you never want to repeat. A little extra warmth goes a long way.
Step 3: Build a Simple Gear Setup (Not a Pinterest Setup)
You don’t need the lightest or most expensive gear to start backpacking. You just need gear that works.
At a minimum, you’ll need a backpack that can carry everything comfortably, usually somewhere in the 40 to 60 liter range. You’ll also need a tent or some kind of shelter, a sleeping bag rated for the temperatures you expect, and a sleeping pad, which matters more than most people realize.
You’ll want a headlamp for when the sun goes down, a way to carry and treat water, and a basic cooking setup if you plan to prepare hot meals. Food, of course, is essential, and so is a simple first aid kit.
There are also a few items that aren’t strictly necessary but can make a big difference. Trekking poles can save your knees, especially on descents. Camp shoes give your feet a break at the end of the day. And while a camp chair might sound luxurious, you may learn it’s worth the extra weight.
The rule I always come back to is simple. If you wouldn’t want to carry it for miles, don’t bring it.
One thing that stops a lot of people before they even start is the idea that they need to spend a small fortune on gear.
You don’t. Not even close.
When you’re just getting into backpacking, it makes way more sense to start scrappy and figure out what you actually like. Borrow gear from friends if you can, look for used equipment, or rent items from local outdoor shops. There’s zero shame in showing up with a mix of borrowed and budget gear. In fact, it’s smart. As you gain experience, you’ll start to notice what matters to you. Maybe you’ll want a lighter pack, a warmer sleeping bag, or a tent that’s easier to set up. That’s when it makes sense to invest. Not before.
Step 4: Dial in Your Clothing (Comfort > Cute)
Backpacking has a way of stripping things down to what actually matters, and clothing is no exception.
You’re not dressing to impress anyone out there. You’re dressing to stay dry, warm, and comfortable. That means choosing moisture-wicking base layers, lightweight hiking bottoms, and an insulating layer like a fleece or puffy jacket. A rain jacket should always be in your pack, even if the forecast looks perfect.
One of the biggest mistakes beginners make is wearing cotton. It holds onto moisture and can leave you cold and uncomfortable. Stick with wool or synthetic fabrics, especially for socks.
For women, a few extra considerations can make a huge difference. A well-fitting sports bra is non-negotiable, and figuring out your bathroom system ahead of time can save you a lot of stress on the trail. It might feel awkward to think about, but once you’ve got it dialed in, it gives you a level of confidence and freedom that’s hard to overstate.
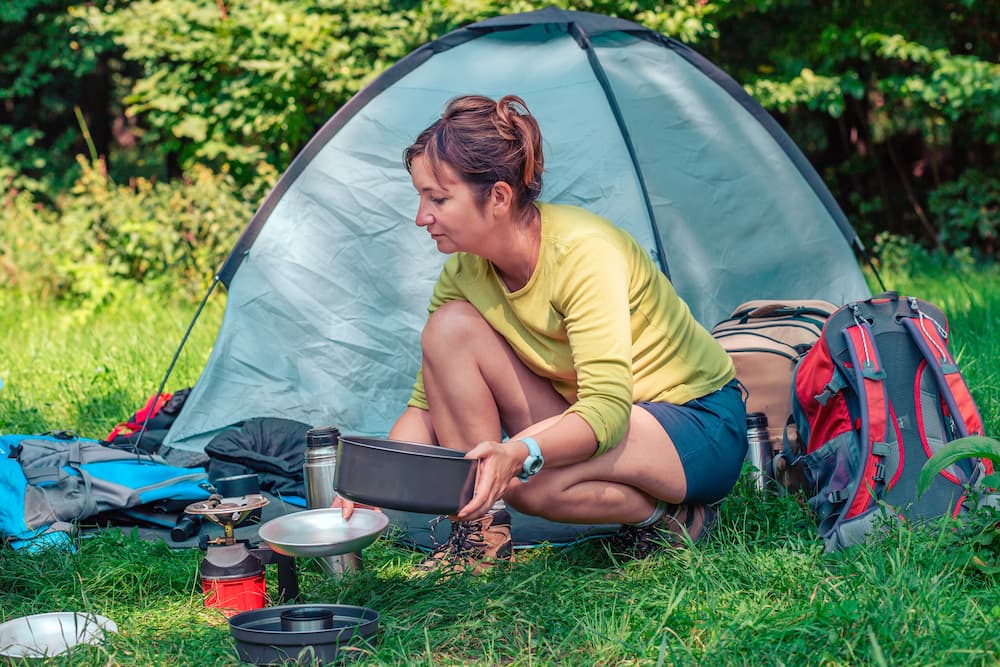
Step 5: Plan Your Food (Keep It Simple)
Food on your first backpacking trip should be easy, reliable, and satisfying.
This is not the moment to experiment with complicated backcountry recipes. Stick with simple options like freeze-dried meals, instant oatmeal, trail mix, protein bars, and easy combinations like tortillas with peanut butter. That last one might not sound glamorous, but it hits every time.
You’ll want to aim for enough calories to fuel your effort, which usually lands somewhere between 2,000 and 3,000 calories per day depending on how much you’re hiking.
And don’t underestimate the power of snacks. When your energy dips or your mood starts to slide, a good snack can feel like a reset button.
Step 6: Learn Basic Navigation (Even If You Have an App)
Technology is incredibly helpful, but it shouldn’t be your only plan.
Before your trip, download offline maps so you can access them without service. If you can, bring a physical map as a backup. More importantly, take a few minutes to understand your route.
You should know where you’re starting, where you plan to camp, and where you can access water along the way. You don’t need to master advanced navigation, but you do need enough awareness to stay on track and avoid wandering somewhere you didn’t intend to go.
Think of it less as becoming an expert and more as staying oriented.
Step 7: Pack Your Backpack (There’s a Method)
Packing your bag well can make the difference between a comfortable hike and a frustrating (or painful) one. The goal is to keep your weight balanced, stable, and close to your body so you’re not fighting your pack with every step.
Start with the bottom of your pack, which is where your lightest and least frequently used items should go. This is typically where your sleeping bag lives, along with any extra clothing you won’t need until camp. These items create a soft base and help fill out the shape of your pack without adding unnecessary weight down low. This soft base also acts as a sort of shock absorber, so that each step of your hike doesn’t feel like a punch to the hips.
Next, focus on the core of your pack, which sits between your shoulder blades and your hips. This is where your heaviest items should go, like your food bag, cook system, or water reservoir. Keeping this weight close to your back and centered helps maintain balance and prevents that dreaded feeling of being pulled backward.
Around those heavier items, you can pack medium-weight gear like your tent, rain jacket, or additional layers. Think of this section as the stabilizing zone, where everything fits snugly together to prevent shifting while you walk.
Toward the top of your pack, place items you’ll want easy access to throughout the day. This might include snacks, a first aid kit, your headlamp, or an extra layer. You don’t want to be digging through your entire bag every time you stop for a break.
Use exterior pockets for the essentials you’ll reach for often. Water bottles, maps, sunscreen, bug spray, and small personal items all belong here. The idea is to keep your most-used items within arm’s reach so you can stay in your rhythm on the trail.
Before you head out, tighten your compression straps to lock everything in place. A well-packed bag should feel compact and stable, not like it’s shifting or swaying with every step. And definitely take it for a short test walk before your trip. You’ll catch small issues early, and your shoulders will thank you later.
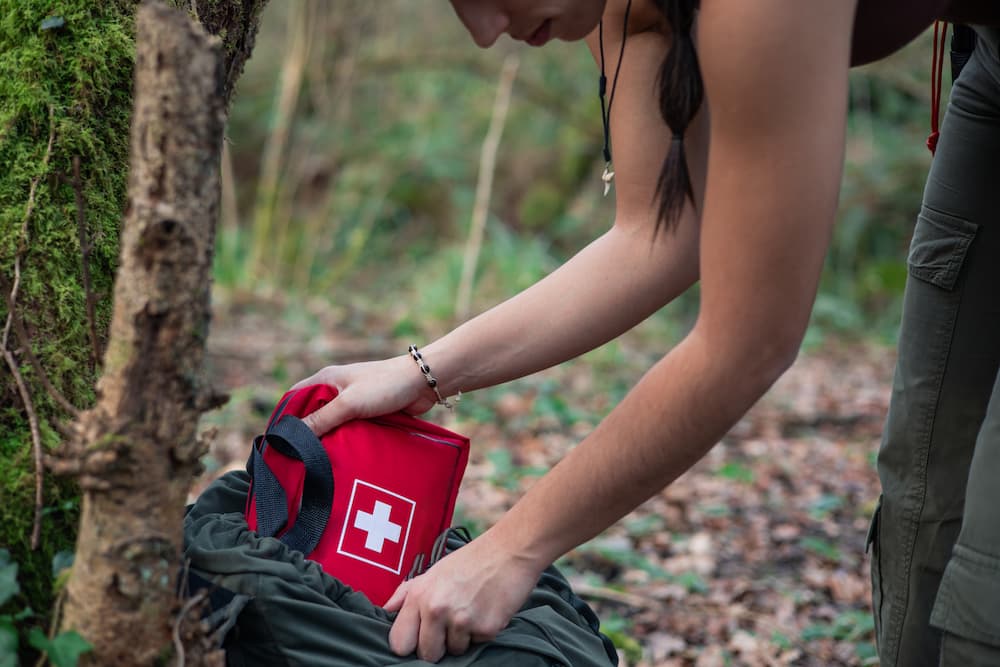
Step 8: Know the Basics of Safety
You don’t need to overcomplicate safety, but you do need to take it seriously.
Always tell someone where you’re going and when you expect to be back. Carry a basic first aid kit, a headlamp with extra batteries, extra food, and additional layers in case conditions change.
It also helps to have a basic understanding of weather patterns, water treatment, and Leave No Trace principles so you can take care of both yourself and the environment.
Confidence doesn’t come from knowing everything. It comes from knowing you’ve covered the essentials.
Step 9: Set Realistic Expectations (This Is Important)
Your first backpacking trip is probably not going to feel perfect.
You might deal with sore hips, a pack that suddenly feels heavier than it did in your driveway, or a night of sleep that’s… let’s call it questionable. There may be a moment where you stop on the trail and think, Why did I sign up for this again?
That’s not failure. That’s the experience.
Backpacking has a way of stripping things down. You’re carrying everything you need. The entire experience is out of your routine. And, it can honestly be a little uncomfortable. And that discomfort can feel loud at first.
But something else starts to happen, too.
You notice things more. The quiet feels different. You start solving problems on your own. You realize you’re more capable than you gave yourself credit for. And somewhere along the way, even if it’s subtle, that initial uncertainty starts to shift into confidence.
That’s exactly why we created Empowered Outdoors.
Not for the people who already feel completely at home out there, but for the ones who are curious, a little unsure, and still willing to try anyway. Because confidence doesn’t come before you do something new. It comes from doing it, even when you’re not totally sure how it’s going to go.
So instead of expecting everything to be smooth and effortless, aim for something better. Aim for a trip where you learn, adapt, and prove to yourself that you can handle more than you thought.
Maybe your tent setup takes longer than expected, maybe your meals are a little weird, or maybe you don’t sleep great. And maybe… you still wake up the next morning, step outside, and think, Okay. This is actually pretty incredible.
That’s a win.
And once you’ve had that experience, even once, the next trip feels a little less intimidating. Then the one after that feels even easier.
You don’t need to be perfect out there. You just need to be willing to begin.
Step 10: Just Go (Seriously)
At some point, planning turns into overthinking. There’s always one more thing you could research, one more piece of gear you could buy, one more reason to wait.
But eventually, you have to go.
If you’re heading out for the first time, especially solo or as the one leading the trip, it’s completely normal to wonder if you’re ready enough. That feeling doesn’t mean you shouldn’t go. It just means you care.
You don’t need to be fearless. You just need to be willing. There’s this idea that backpacking is reserved for a certain kind of person. Someone more experienced, more rugged, more prepared.
It’s not.
You don’t need to have all the gear, know everything, or look like you belong out there.
Backpacking is for anyone willing to carry what they need and take that first step down the trail.
Including you.